I love finding ways to use my craft products in unexpected ways! Never did I think that I’d be making a stenciled birthday cake, but here I am, rockin’ it! 🙂
Altering the cake pieces…
Using the Ganache Gateau dies to cut the cake, I wanted it to be smaller than the actual die size. After cutting it out, I used the die to trace across the top. I then used scissors to cut along the traced line, making a shorter cake! Easy peasy!

I also modified the frosting for the top of the cake. The die creates drips of frosting which I wanted to omit, so I cut along the line made by the die.

Adding some daisies…
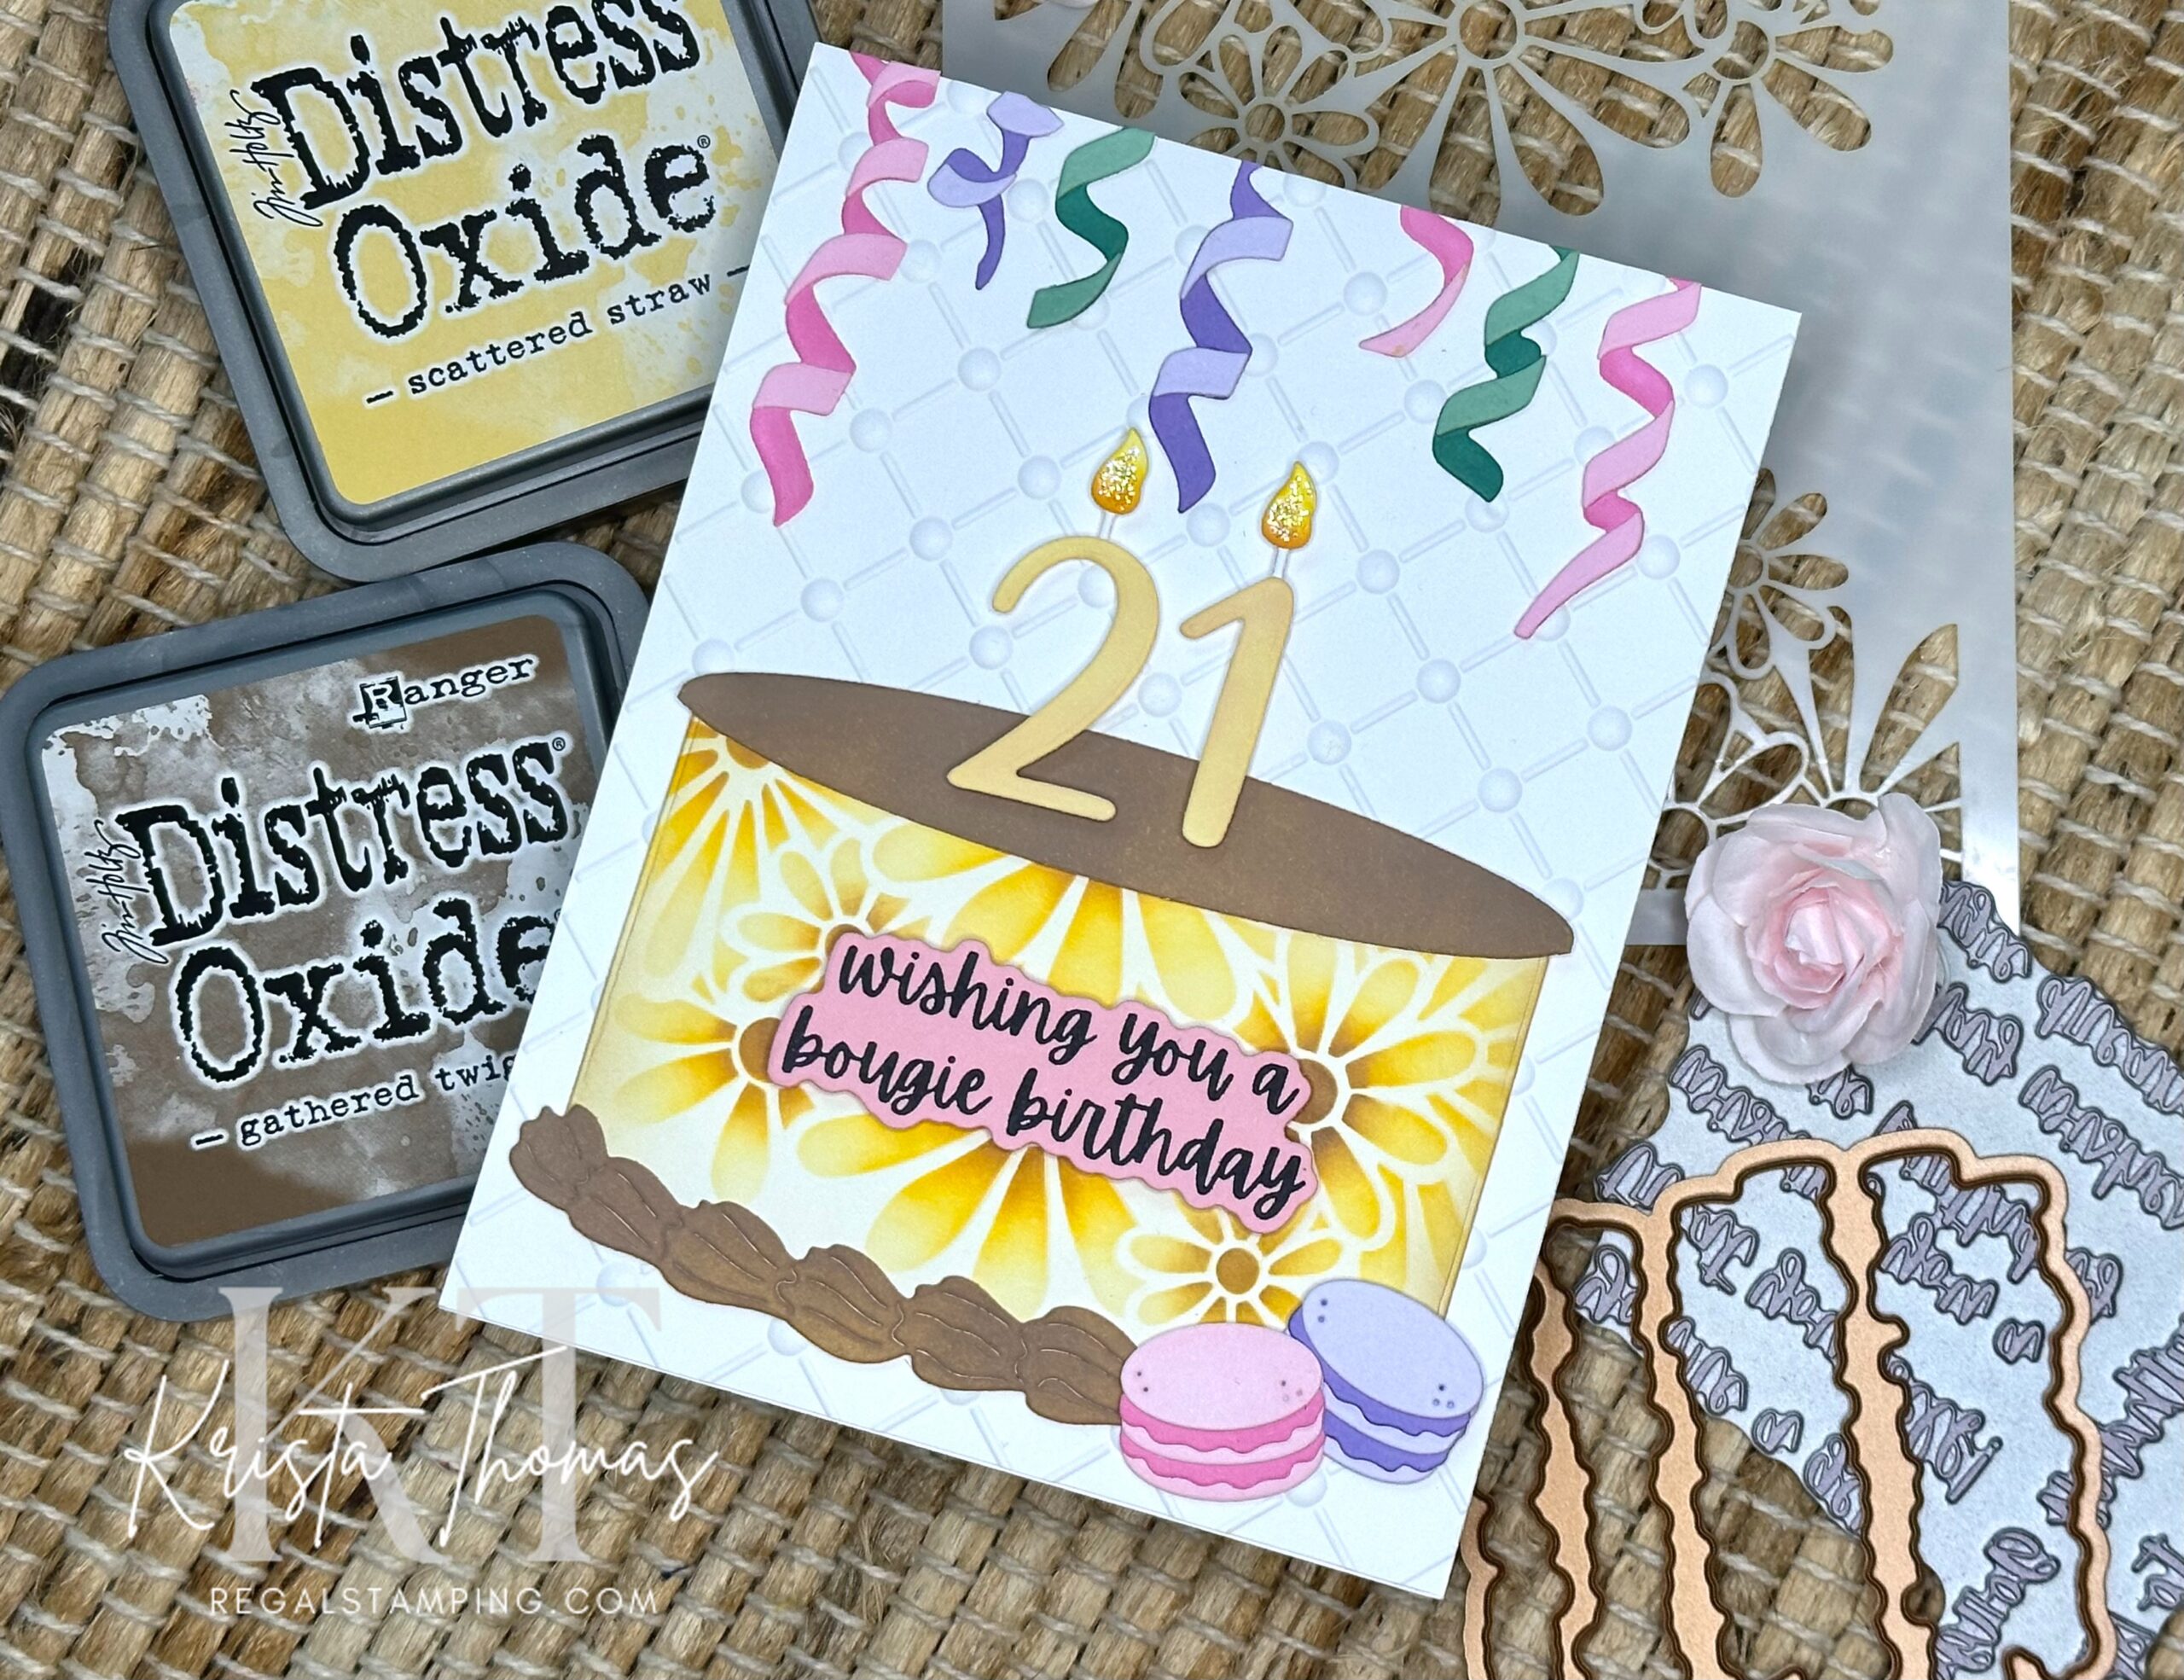
To make the stenciled birthday cake, I placed it on a sticky mat, laying the stencil over the cake while centering the flowers where I wanted them. I used blending brushes with Distress Oxide inks in Scattered Straw, Mustard Seed and Gathered Twigs. The white frosting was also inked with Gathered Twigs.
It’s not a party without streamers!
This A2 sized card has a white embossed background (Classic Backdrop 3D). There are ribbon streamers coming down from the top, which were made with some of the accent dies from Treat Yourself Gift Card Holder.
All of the streamers were cut from white card stock and then inked with the following Distress Oxide colors: Spun Sugar, Picked Raspberry, Cracked Pistachio, Lucky Clover, Shaded Lilac and Wilted Violet.

Organization is key!
Keeping the coordinating pieces together for each streamer is a must, unless you don’t care about your sanity…LOL! I use little plastic dishes that originally came filled with Cesar dog food. Washed and dried, these make great holders for small pieces, keeping everything organized and they’re basically FREE! (I have stacks of them, thank you Kim N.!)
Pick a number, any number for this stenciled birthday cake!
The numbers were cut with Classy Numbers Dies from white card stock and inked with Distress Oxide Scattered Straw. The flames were inked with Mustard Seed and Carved Pumpkin and then some Stickles Star Dust glitter was added for some sparkle.

The macaron dies come with the Ganache Gateau set and were pieced together and placed in the bottom right corner of the cake.
A sentiment to tie it all together…
Finally, I used the Betterpress system with the Bougie Birthday Sentiments Press Plate & Die to make the sentiment which is popped up on the front of the cake. It bothers me a little that I covered up part of the stenciling on the cake, but it was really the only open spot and I felt it was a necessary addition.

It’s been a joy to share my stenciled birthday cake with you today and I hope you enjoyed seeing a little of the “behind the scenes” instructional pictures. They say a picture is worth a thousand words and I believe it’s true! I am one who always appreciates a picture to go with instructions.
If you’ve missed my previous posts using these Bougie Birthday products, you can see them here:
Until next time,
~Krista

Discover more from Regal Stamping
Subscribe to get the latest posts sent to your email.