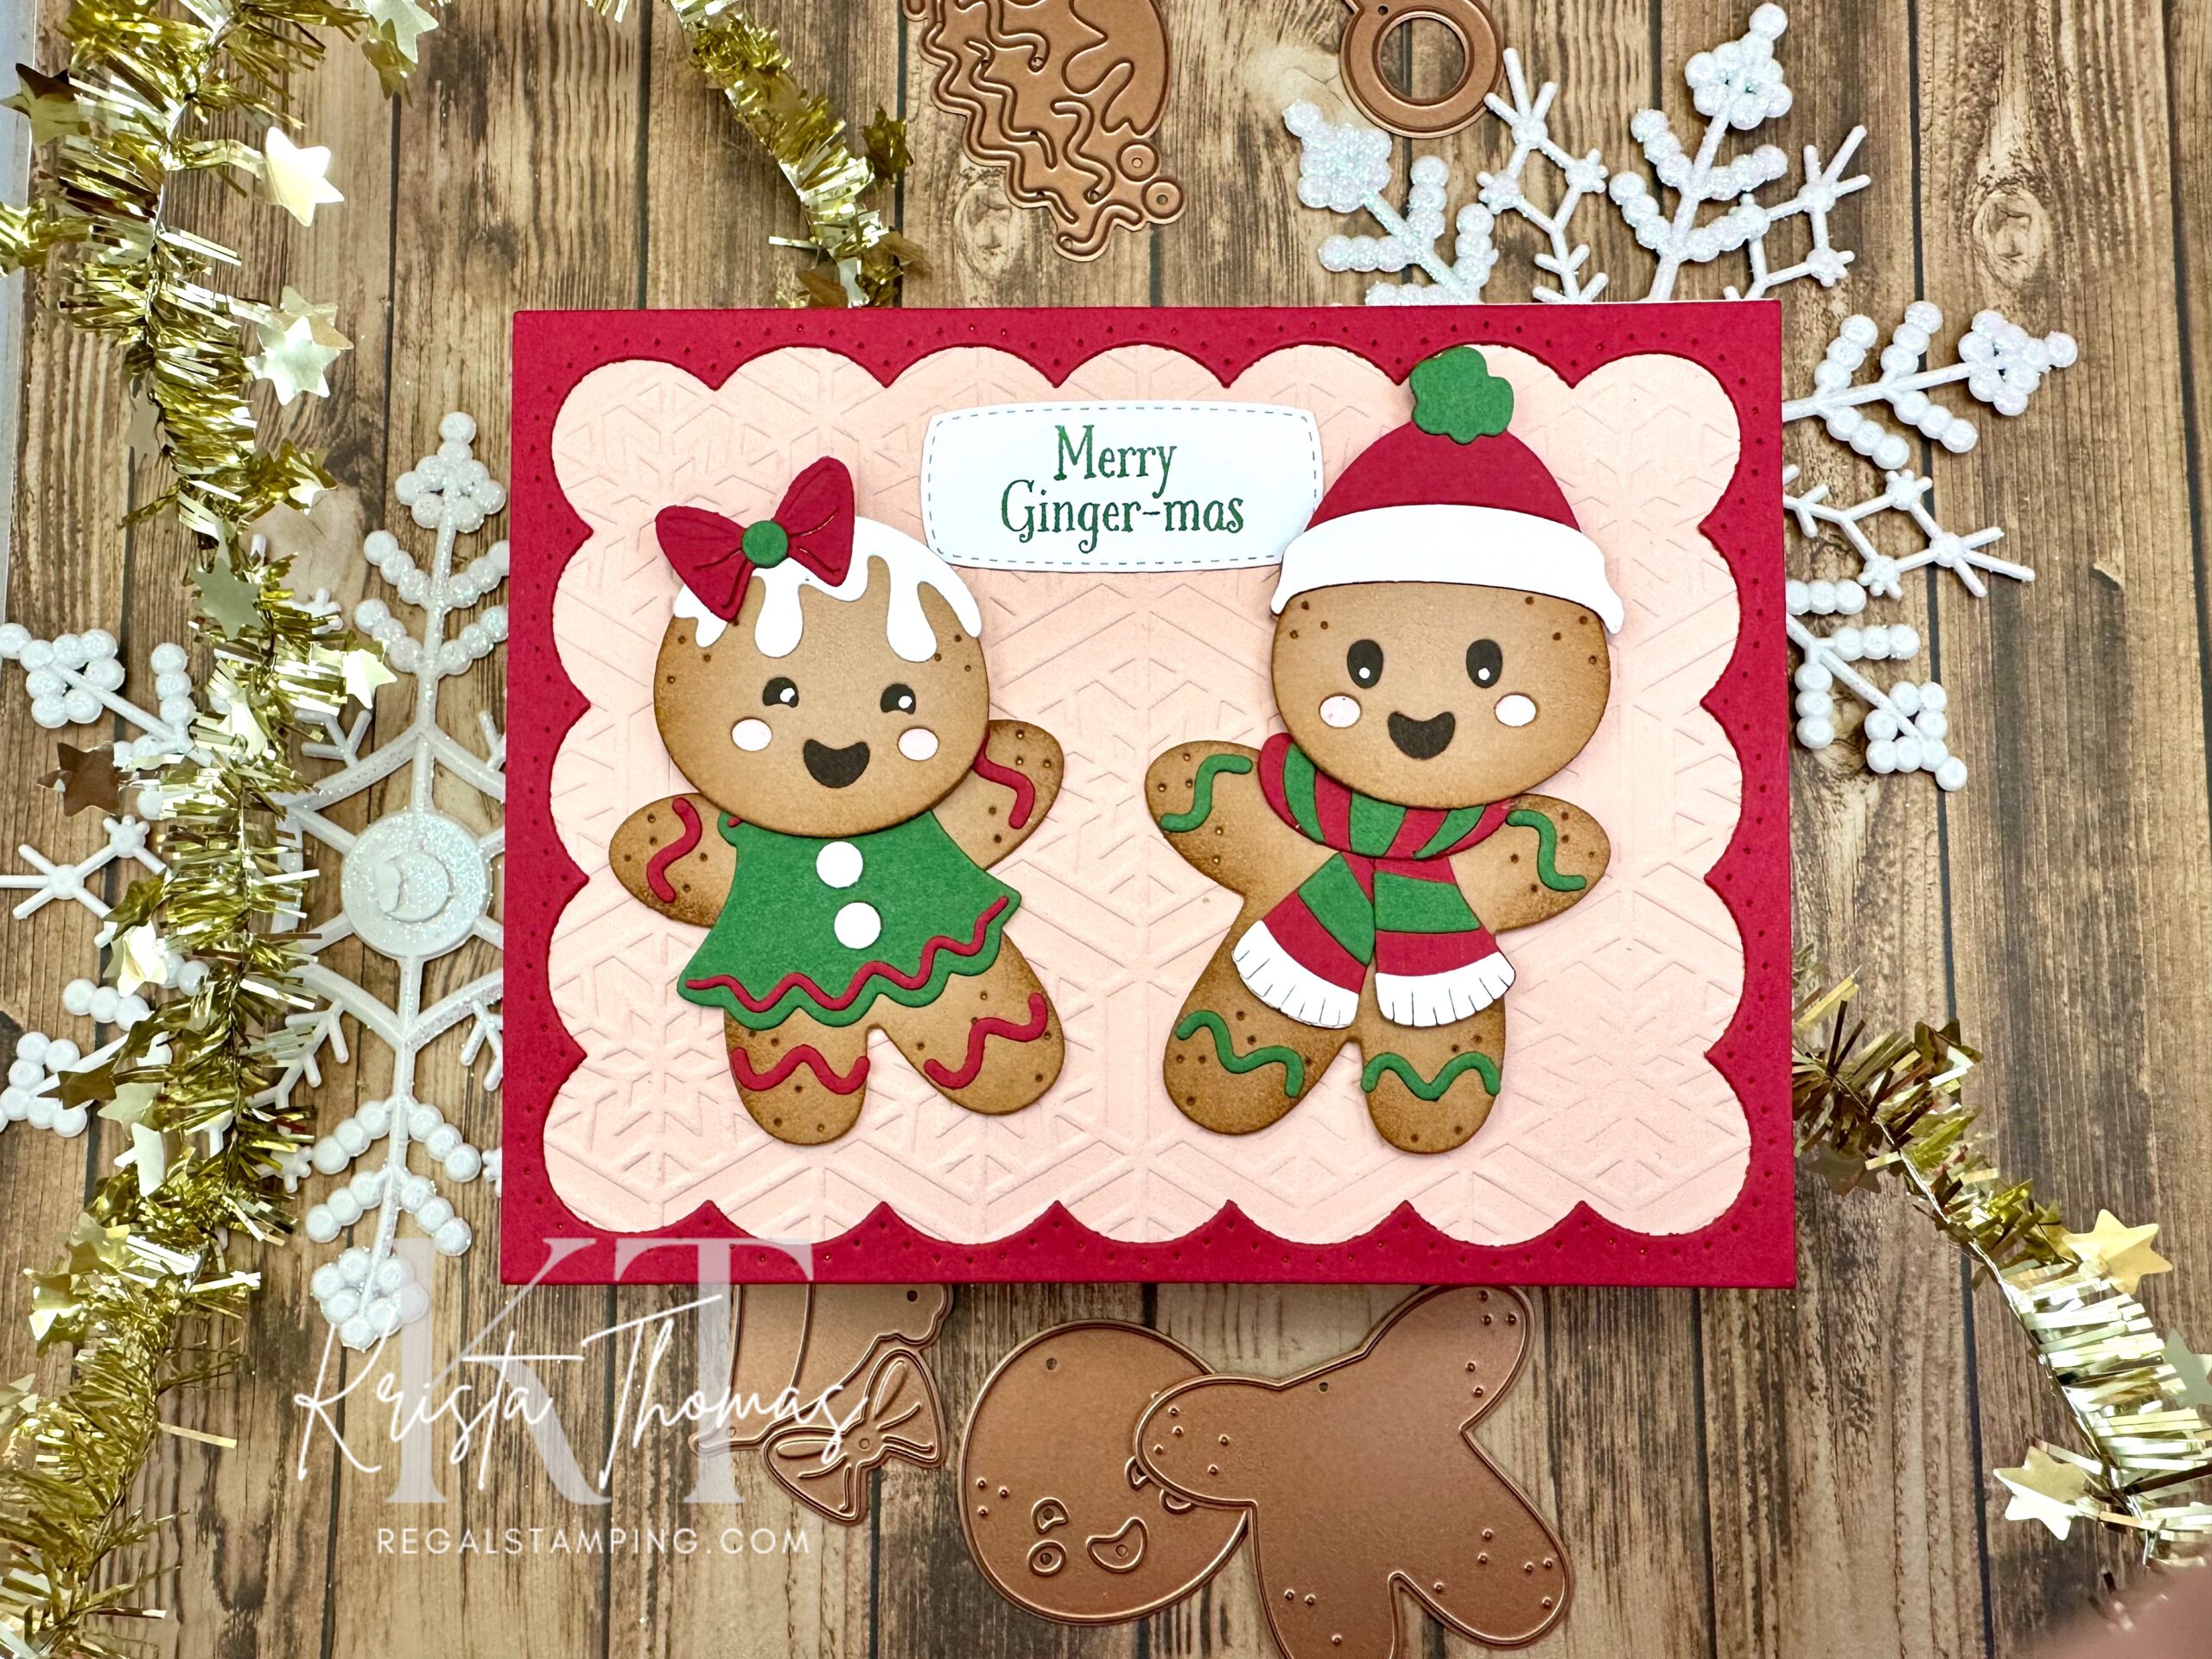
How does one dance on a Christmas tree? It’s easy for this cute gingerbread couple because they’re part of Spellbinder’s Dancing Dies series! I am so smitten with these adorable cookies and they were so much fun to make! Check out this quick little video, showing how they dance!
Putting it all together
To begin, I made a background panel by running my card stock through Hexi Snowflake Embossing Folder and then secured it onto an A2 sized card base. (5.5″ x 4.25″)
Next, I cut a frame from red card stock using The Greetery’s Frosted Frames Die. This die creates three panels in one pass through the Big Shot, but I only needed the outer frame. I always save the extra pieces for future projects.

Making the gingerbread couple takes a little time in front of the Big Shot (or whatever die cutting machine you have). With a little organization by sorting which dies cut which color, the process is simplified. I drop all of the pieces into a plastic dish so that I’m sure not to lose any! And my best tip of the day is to get yourself a magnetic bowl to drop your dies into. Have you ever accidentally thrown a die away? I sure have, BUT, no more!! By the way, these make a great Christmas gift for mechanics or husbands who assemble things with screws and such. The larger pack would be a very nice gift!
Assembling the gingerbread kids
I won’t take the time to show how to assemble the fronts, as they’re pretty self explanatory. What I will show, is how to assemble the back and where to place the swinging (or dancing) mechanism.
After cutting all of the pieces, I used a blender brush with Altenew’s Mocha ink pad, adding some shading around the edges of the bodies and heads. Turning over the heads, I added some punched circles of dark brown behind the openings of their eyes, cheeks and mouths.
What makes it dance?
Next, the swinging mechanism is placed onto the back of the head and a dimensional circle is placed inside the circular opening, at the top. I actually layered two dimensionals together to ensure there was plenty of room for movement. The small circle at the bottom of the mechanism gets glued to the body, making sure the head and body overlap slightly.
The sticky dimensional is the only thing that holds the gingerbread man to the card.

I wanted to make these guys for my Christmas tree, so I needed a way to cover the back and hide the mechanism and whatnot. What I ended up doing was scanning the body and head shape into my Brother Scan n’ Cut, without the face openings, and then cut out the solid pieces with the machine. These were adhered to the backs of the ornaments.
Here’s what they look like while hanging in my tree. Aren’t they adorable?

I changed the colors to red and white and just loved how they turned out! I know I’ll need to have a few extras for my grandkids, as I’m sure they’ll want some of their own. Who knows, maybe we’ll have a craft day and they can make their own cuties!
As I mentioned in my previous post, I have a “thing” for everything gingerbread, so I’ll be back with more inspiration very soon!
Until then,
~Krista

Discover more from Regal Stamping
Subscribe to get the latest posts sent to your email.
