Today I’m sharing two more cards that were made with Justine’s Farm Collection, called Farm Sweet Farm and Daisy. Each card also features the February Stitching Die of the Month, which is probably the most versatile frame that I own. It complements just about everything and is still available with a club subscription until February 27. Don’t miss out!
Both of today’s cards were made by using Spellbinders Betterpress Letterpress System. If you want to know more about this system, see my previous post, Introducing Justine’s Farm Collection. I included a step by step tutorial with pictures.

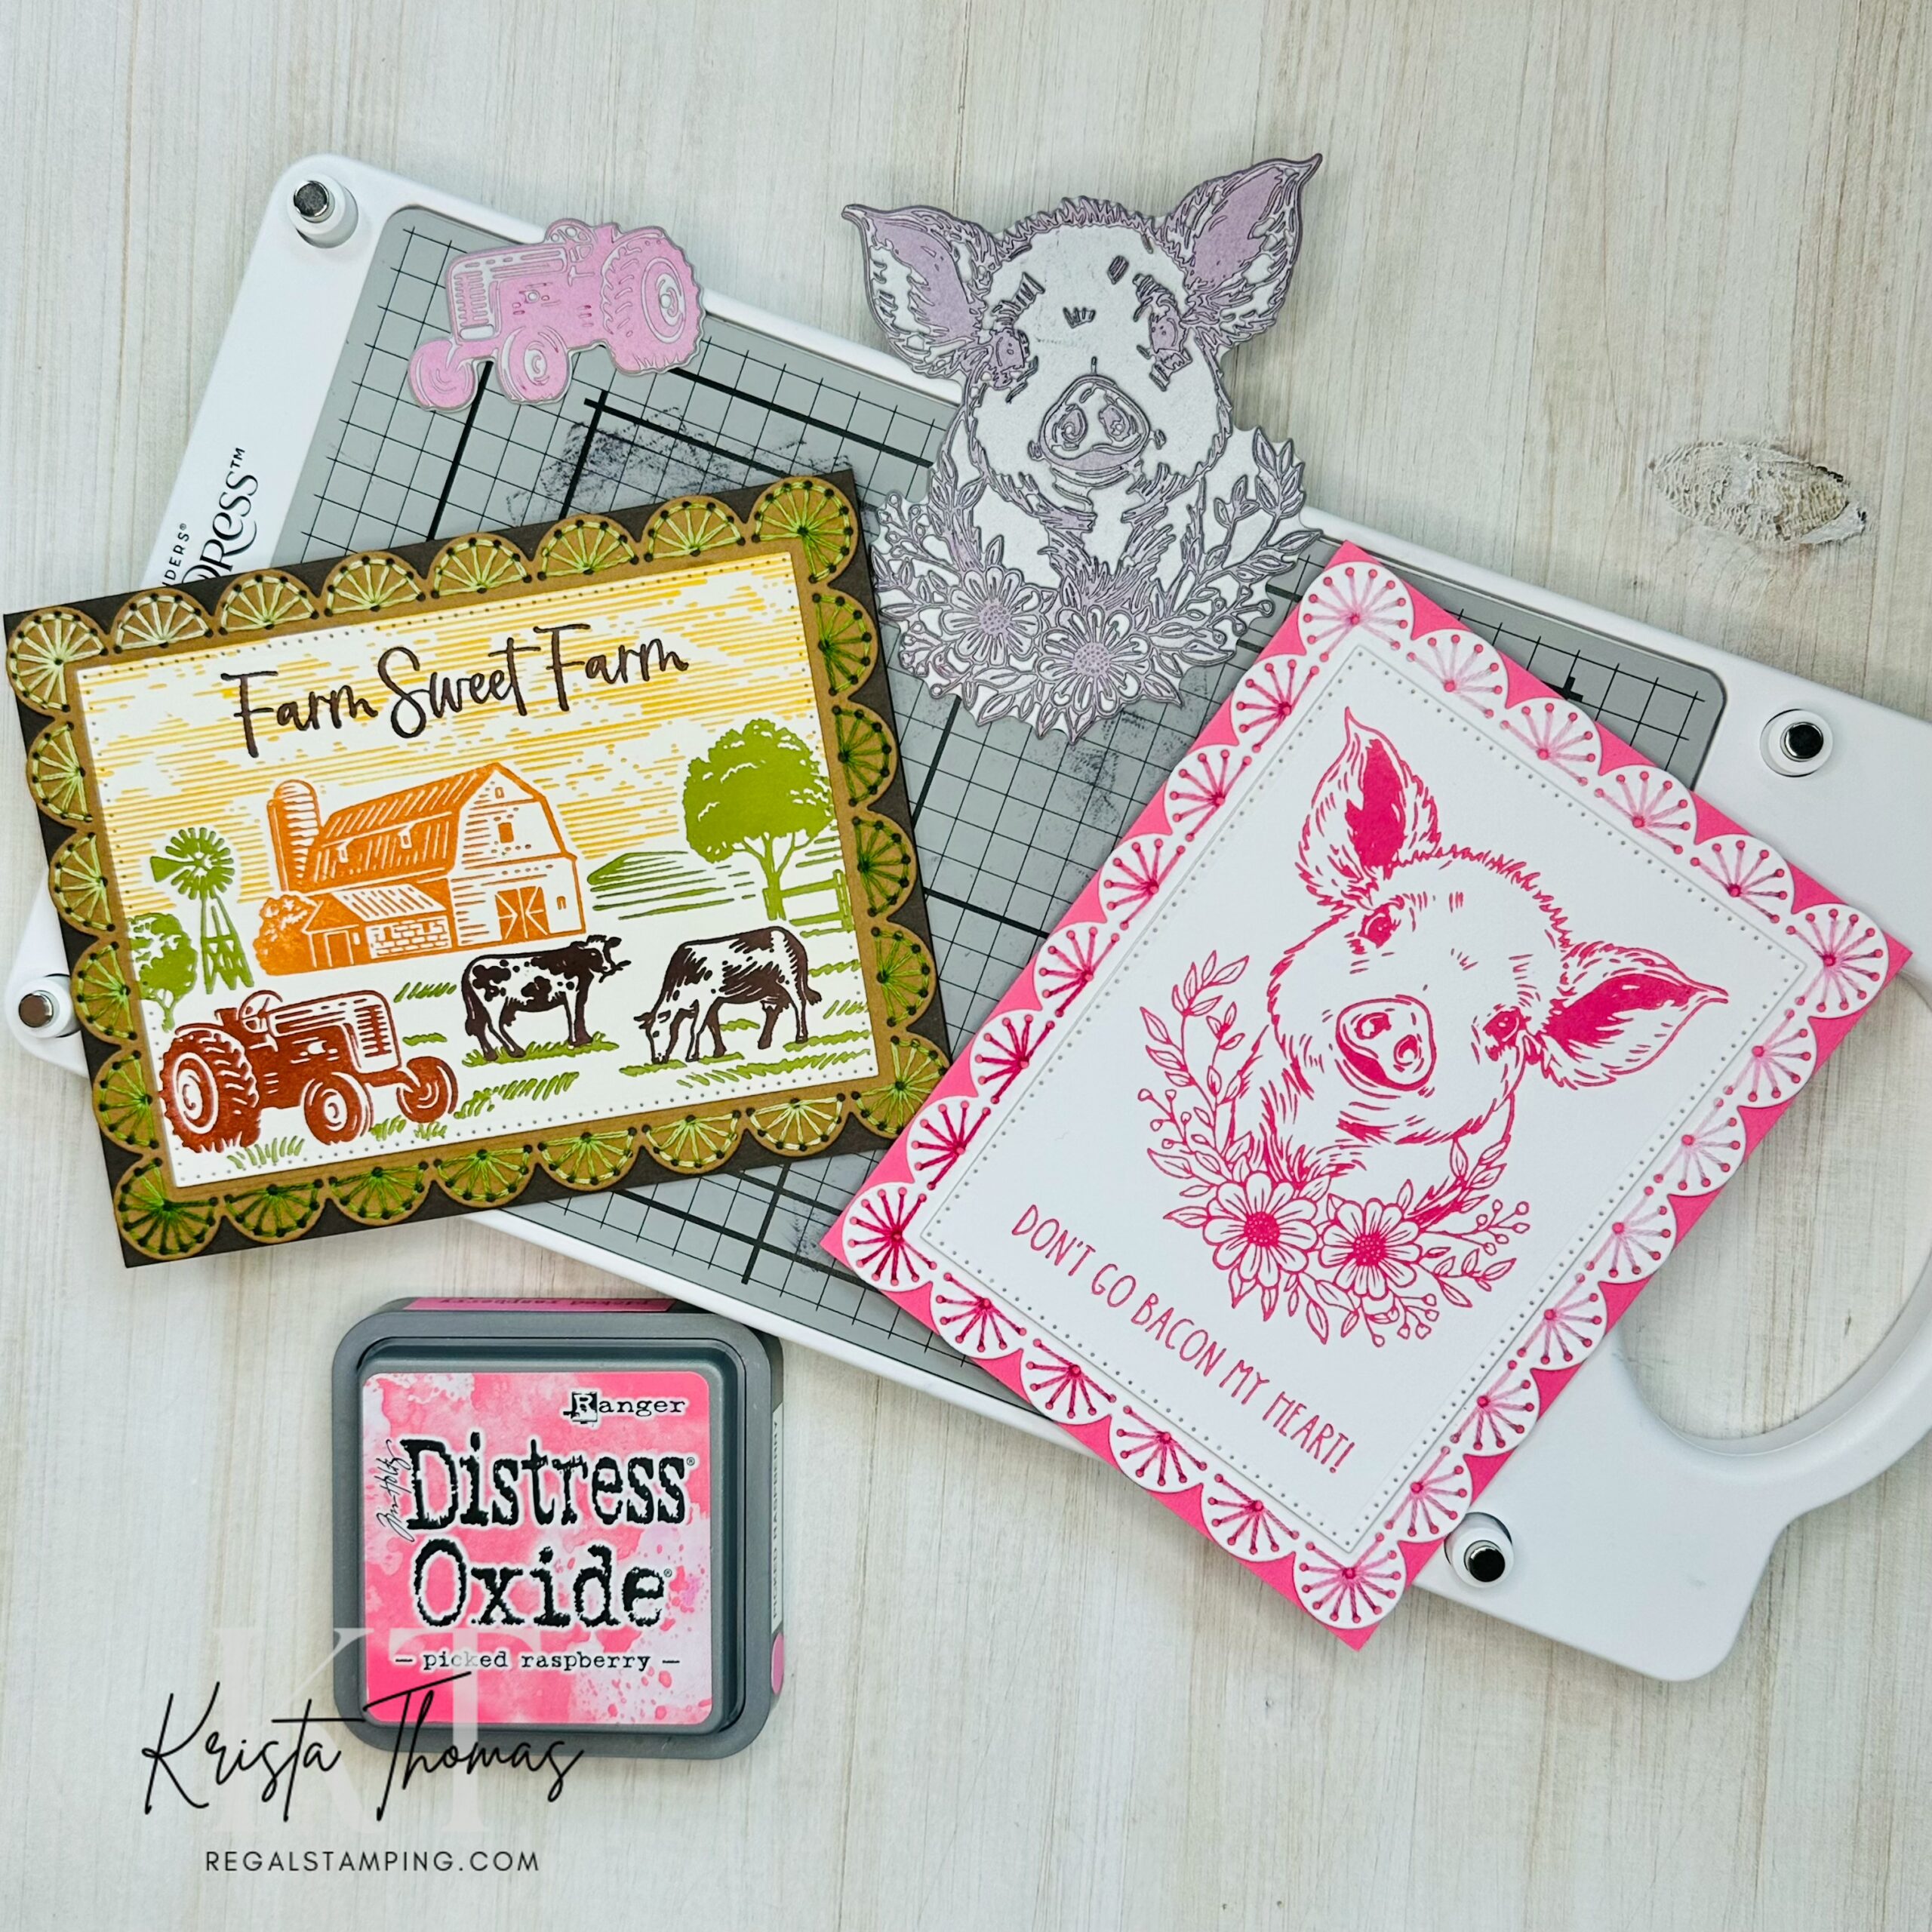
Farm Sweet Farm
I will admit to being intimidated by this set of Betterpress plates when I received them. While I was happily playing with the other components of Justine’s Farm, I left this one sitting. You see, this Farm Sweet Farm set is a scene builder and involves a registration grid that helps with placement of its pieces. There are 10 designs, not counting the sentiments, and they do not all fit at once. Whew! Just thinking about it made me break out in a sweat!
However, my intimidation was unfounded as discovered when I finally decided to tackle the set. I was instantly amazed at how easy it was. One minute I was hesitant and the next, I was happily making my third scene! I learned a few things along the way, so I’ll share those with you now.
Using a registration sheet

This Farm Sweet Farm set comes with a registration sheet that is a piece of acetate with printed outlines of the design shapes. Place the sheet onto the Betterpress Letterpress Chase (or base), centering it within the grid marks on the Chase.
I figured out that the different colored outlines on the registration sheet signify which dies can be done at the same time. In other words, the black outlines can be done at the same time, as can the green lines. The only red outline is the barn and is done separately from the rest.
To begin:
Use removable tape to secure it, which is a necessity to avoid it moving around during the process.

Add some ink
Place your desired plate onto the sheet within its guidelines. Add ink. I have had success with water- based, pigment or the Betterpress line of inks. In order to add different colors, I used ink spots which are 1” x 1” ink pads and are water-based. Tim Holtz offers this size in his Distress Ink pads, also sold in affordable sets. Small, easy to maneuver and perfect for this process! If you don’t have these small ink pads, use what you have, cleaning up any messes along the way.
Adding your paper
On the Platen, which is the clear top portion of the Betterpress system, I secured a paper panel within the coordinating grid marks.

After inking each design, the Platen was placed on top of the Chase and was run through my die cutting machine.
Cleaning up
After each session, remove the design plates, clean with a damp cloth and move on to the next design plates. As you can see from the above picture, I did the sky, both cows and the tractor at one time.

I didn’t take pictures of the entire process, but you get the idea. While it does take a few steps, the end result is an impressive scene and a great feeling of accomplishment! And it wasn’t scary or hard!
To finish the card, I used a rectangular die to cut the scene out so that it would fit within my stitched frame. The stitching was done on a pecan colored card stock and I used a variegated green DMC thread (#92). I love how the thread changes from light to dark as it moves around the frame! I used variegated thread in my previous post, as well as the next card that I’m sharing today.
Finally, I placed everything onto an espresso brown card base and my card was complete!
One last thing…
All of the Farm Sweet Farm designs can be used alone! If you just want a barn, just use that one plate. If you only want a couple cows, use only the cows! It’s versatile and I just LOVE that!

Daisy
Next up is my very pink version of Daisy, the pig from Justine’s Farm Collection. Her adorable face just makes me smile!

I decided to experiment with DistressOxide ink pads and the Betterpress system, and it worked like a dream! While inking Daisy with a Picked Raspberry pad, I did make a bit of an inky mess on the Chase. It wiped up quickly with my craft shammy, leaving no staining whatsoever. I always have a damp shammy close by when I’m crafting, storing it in a DVD case to keep it from drying out. I rinse it with water when it gets really inky and squeeze it out very well before using again.
After having success with the Distress Oxide ink, I cut Daisy out with the largest rectangle included with February’s Stitching Die of the Month. Sitting down to stitch the frame, I once again chose a variegated DMC thread (#48). The varying shades of pink created a visually interesting frame.
If you’ve been afraid to try the variegated threads in your stitching projects, don’t be! They can add so much excitement to the finished project!
Finishing up my pig card, I layered everything onto raspberry colored card stock, making this truly a pink masterpiece! 🙂
I hope you’ve enjoyed seeing the process I used to with Farm Sweet Farm and its coordinating registration sheet. I love teaching others the joy of paper crafting and rather miss holding my in-person classes! While true, I am also enjoying the process of teaching via my blog posts.
This post does contain affiliate links which if followed and a sale is made, then I earn a small commission at no extra cost to you. I thank each of you who have shopped via my links! You are appreciated!
Until next time,
~Krista

Discover more from Regal Stamping
Subscribe to get the latest posts sent to your email.