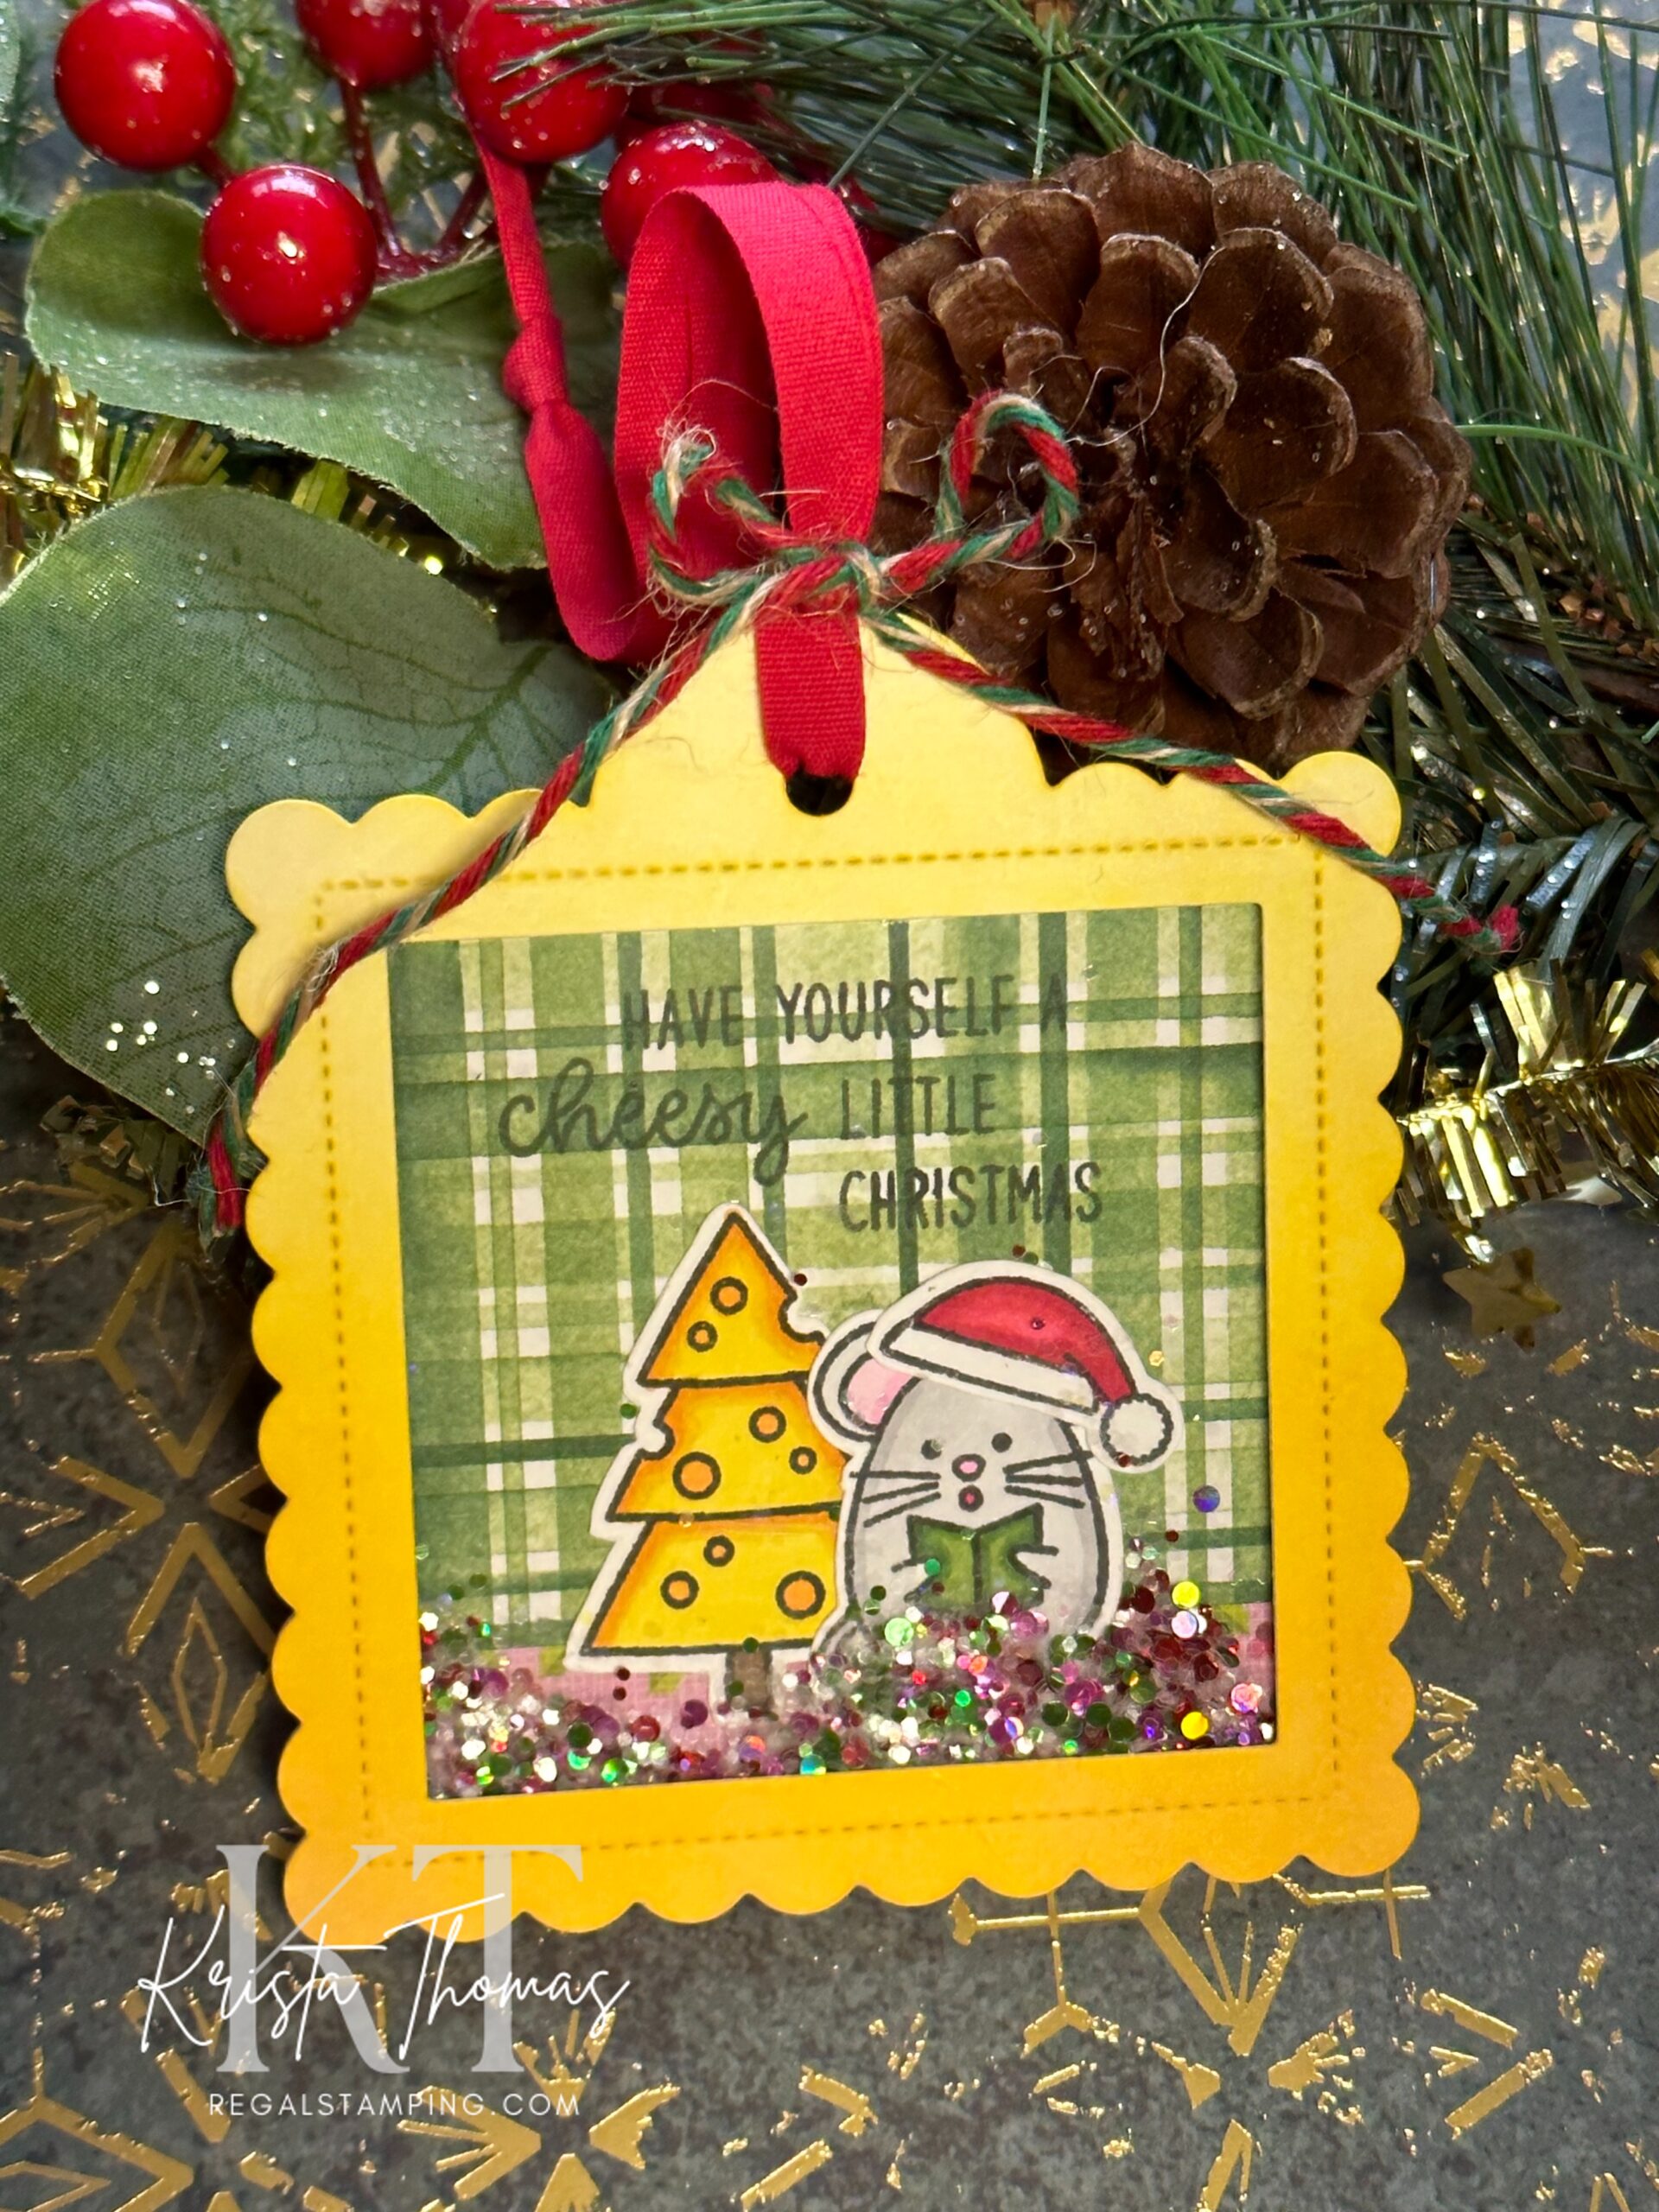
Handmade tags for the holidays
Hello Creative Friends! I hope you’re enjoying your weekend and finding time to do the things that make you happiest.
This weekend is the end of Daylight Savings when we move our clocks back one hour. It always makes me lethargic, depressed and downright grumpy for awhile, which doesn’t make sense. However, I know I’m not the only one who struggles with the time change. Can you relate? I do wish we could stop the whole daylight savings nonsense!! Regardless, I find my happy place while crafting so that’s where I’m choosing to spend my weekend!
In my previous post, I showed some of my Christmas gift tags that can combine as ornaments, and today I’ll share another. These projects are quick and easy to complete while being therapeutic at the same time!
For today’s project, I pulled out some stamps and dies from one of my favorite companies. I used Sunny Studio’s Scalloped Tags-Square, cutting two, and then I used one of the Stitched Square Dies to cut out a window on the front tag. They have such cute designs and stand alone dies.

A blending brush was used with Distress Oxide Ink pads to do an ombré effect on the frame. When ink blending, I usually start with the lightest color, working my way to the darkest. I chose to use Wild Honey, Mustard Seed and Scattered Straw distress inks for a beautiful blended look.
My ink blending hack…
When ink blending, I like to put my paper (in this case, the scalloped frame) on a sticky mat to hold things in place. I use these brushes and they work beautifully! I love having the colored handles to easy reference.
While there are many sticky mats on the market, I prefer an old Cricut mat that I cut into fourths. It’s not super sticky anymore, which is perfect for ink blending and the smaller size (6 x 6) is usually just right.
Occasionally you’ll need to add some new stickiness to the mat. You can accomplish this by putting a few “lines”of Zig 2-Way Glue onto it. Be sure to let the mat dry completely before using it again.
How to make a shaker window
To create a shaker window, cut a square out of acetate, making it slightly larger than the window opening. You then adhere it to the backside of the window tag. Easy peasy!!

I added some green plaid paper to the solid tag after stamping “to/from” on the reverse side. The stamped images are from Sunny Studio’s Merry Mice, and were stamped with Memento Tuxedo Black ink. The images were colored with Ohuhu Alcohol Markers and then cut out with coordinating dies. The pieces were then adhered to the green plaid background. I think the stamped sentiment “Have yourself a cheesy little Christmas”, is just perfect for this little scene!
Creating the shaker…
In order to create the shaker, I placed some double-sided foam tape around the outer edges of the plaid square, making sure there aren’t any gaps where glitter could escape from.
Giving it some sparkle…
I then carefully sprinkled about 1/4 teaspoon of glitter inside the foam tape barrier. Once the glitter is placed, you’ve got to be super careful while peeling off the tape liner and then placing the window frame over the top, gently pressing the edges to seal it. Once that’s done, it’s time to give it a shake!
Finishing touches…
Finally I looped some red ribbon through both layers of the tag, knotting them at the top. I used some Christmas twine around the base of the red ribbon and tied a bow.

I think this will be adorable attached to a gift, but once the gift is opened, the tag can be saved and hung in the Christmas tree for years to come.
Thanks for spending a few minutes with me today. Why not try making some Christmas tags of your own and then bask in a job well done!
Until next time,
~Krista
Follow me:Discover more from Regal Stamping
Subscribe to get the latest posts sent to your email.
