I have been counting the days until I could share the new Justine’s Farm Collection with you, and it releases today! Designed and created by Justine Dvorak for Spellbinders, this collection was made for the Spellbinders Betterpress Letterpress System, but also works with the Hot Foil Glimmer Machine. Today I’d like to focus on the Betterpress system and how it works. If you’ve never seen it or used it, this post is for you! Don’t miss the tutorial with photos, below.
What is Betterpress?
The innovative Betterpress System creates professional looking letterpress designs by pushing the design into the paper. You can literally feel the impression! Think of it as the opposite of embossing (which raises an image). This system creates crisp images embedded into the paper.
While it’s recommended to use cotton paper, I have had success using 110 lb. card stock and 140 lb. cold press watercolor paper. The impression is not as deep when using card stock, but it still transfers beautifully.
The system comes with a black ink pad made specifically for Betterpress, and is perfect if you want to watercolor over the design. However, I have successfully used water-based inks such as Memento Tuxedo Black, Tsuneko Kaleidacolor pads and the like. If you have ink spots (1” x 1” ink pads), these are PERFECT for the job! While I haven’t extensively used Distress Oxide pads with the Betterpress, I believe these can work as well. Suffice it to say, you probably already own the ink you need and it’s always nice to use what we have. Amen?
How does it work?
The Betterpress system works with your manual die-cutting machine (Platinum, Big Shot, etc), and includes a magnetic platform, called the Chase, which is where you place the dies. It also includes a Platen, which is a clear top plate where you secure your paper panel. This Platen has four raised magnetic corners which allow the paper to sit over the die(s) without touching, until you run it through the die-cutting machine.
Both the Chase and the Platen have registration marks on them, making placement of the dies and paper perfectly coordinated so that your design is right where you want it!
Let’s use it…
Step 1:
Place the letterpress die onto the Chase, positioning it within the registration marks as desired. *Please note: the Betterpress ink stains the Chase! Unfortunately, I did not know this and made a mess the first time I used it.

Step 2:
Use an ink pad to ink up the die, being careful not to get ink on the Chase, as the Betterpress ink does stain. Wipe away any ink that transfers to the Chase. I like to use the corner of a shammy.

Step 3:
Use removable tape to secure the paper panel to the Platen, within registration marks to coordinate with die placement. In this example, I am using Canson Watercolor Paper, 140 lb cold press.

Step 4:
Place the Platen paper-side-down over the Chase, allowing the magnetic corners on each piece to connect.

Step 5:
Run through the die-cutting machine. This will push the paper onto the inked die. Then remove the Platen from the Chase. Remove paper from Chase. Admire your achievement! I did a close up of the finished piece, in the hopes that you can see how it’s impressed into the paper.


Step 6:
Use a damp cloth to clean the die and Platen.

Let’s meet Justine’s Farm…
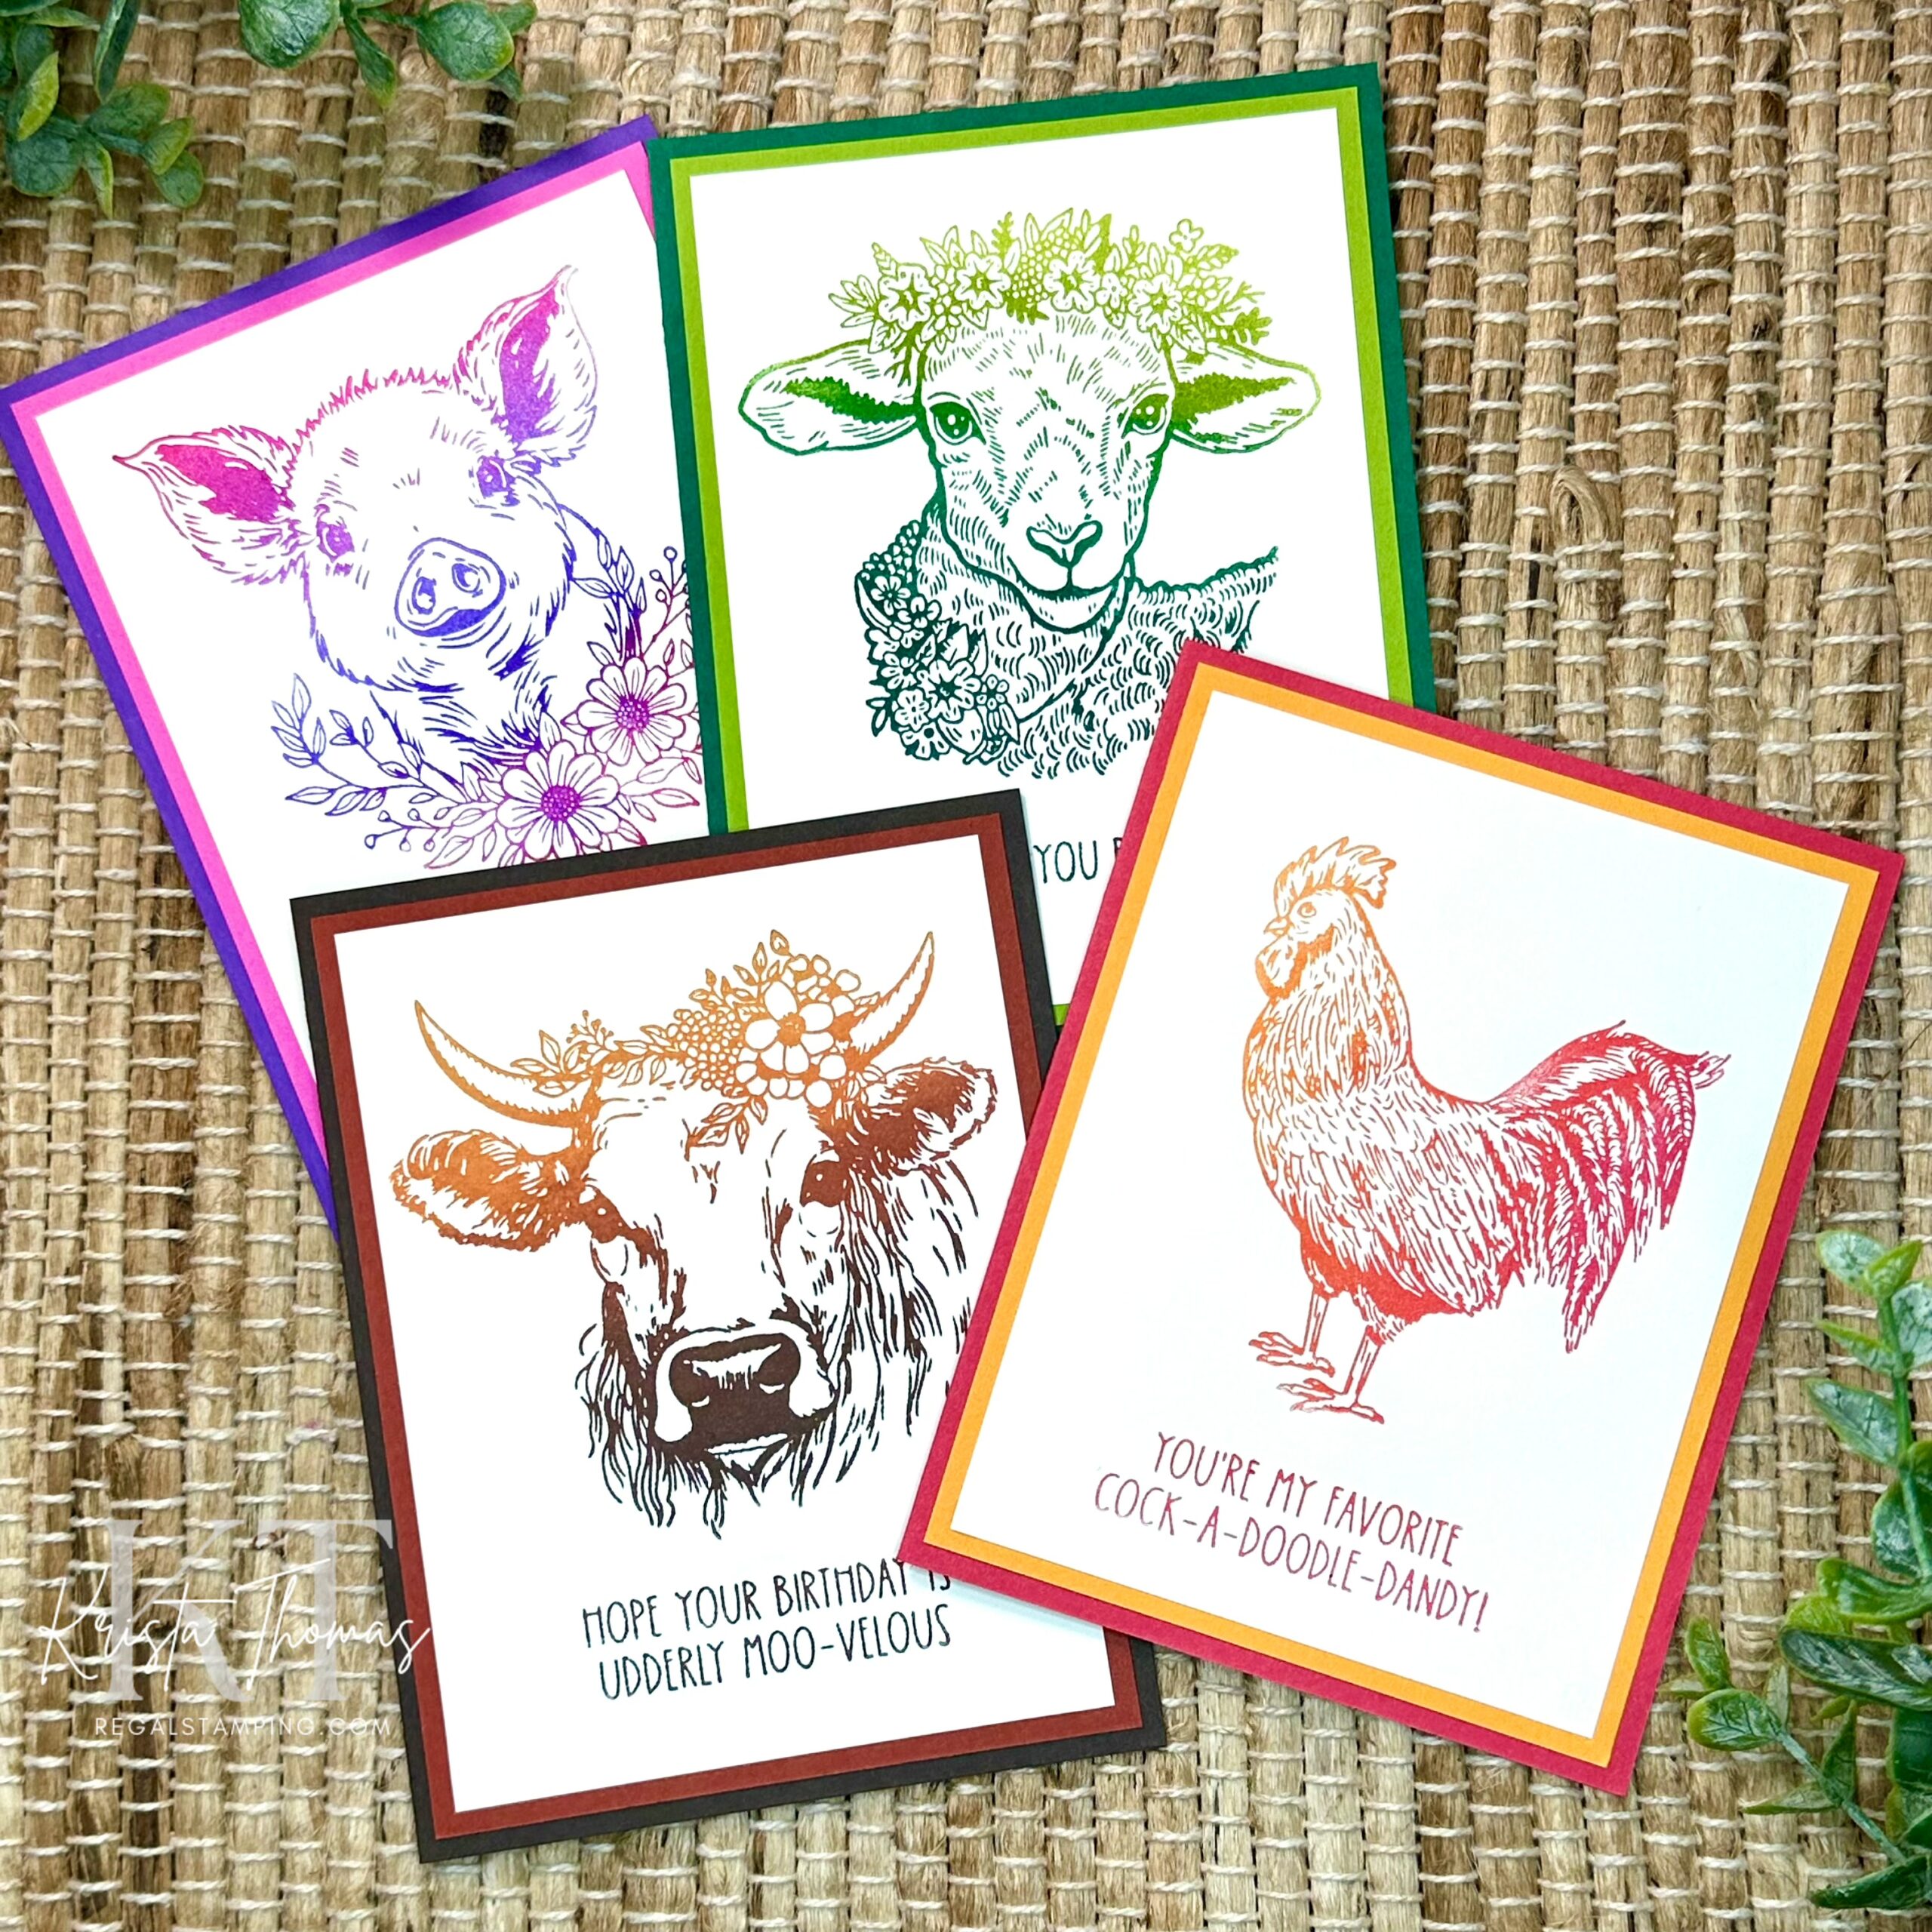
Introducing Clover, the adorable cow!

To make this adorable card, I used the cow plate and one of the sentiments included with the Clover set from Justine’s Farm Collection.
I used a Tsukineko Kaleidacolor Cappuccino Delight Rainbow Pad to ink up the dies. Sadly, these pads have become difficult to find, but do an online search and see what you get. (Ebay, Etsy, Walmart, Amazon, Michaels and JoAnns occasionally sell them.)
Instead of a rainbow pad, you could use individual ink spots, which are 1” x 1” pads.
I used vanilla colored card stock, layering it onto a rust panel with an espresso card base.
Introducing Cotton Ball, the cute wooly lamb!

Using the Cotton Ball set of Justine’s Farm, I made this lovely Valentine card with it’s sentiment, “Wool you be mine?”
Once again I used a Kaleidacolor pad (Fresh Greens) on a vanilla panel. It is layered onto a lime green panel and then a grass green card base.
How can anyone resist that sweet face?!
Introducing Daisy, the lovely pig!

Next up is this cute pig, Daisy, and another sentiment that works for Valentine’s Day. I just LOVE a good pun!!
With a Berry Blaze Kaleidacolor pad, I inked up the dies and ran them through the Betterpress system. So quick, so easy and SO stinkin’ adorable!!
The vanilla panel was adhered to a violet pink panel and then onto a purple card base.
Introducing Feathered Friends…
which includes a rooster, hen and chick, along with some adorable sentiments.

For this final card, I used the rooster from the Feathered Friends set and another fun sentiment.
I used the Desert Heat Kaleidacolor pad onto a vanilla panel. This panel was adhered to a mango colored panel and then onto a red card base.
In closing…
I kept these four cards very simple in hopes of showing you how quick and easy the Betterpress system truly is! While I didn’t use all of the dies from Justine’s Farm Collection today, rest assured, I’ll be back soon with more amazing samples. I’m in love with all the cuteness and punny sentiments!
I hope you’ll take a peek at this collection and imagine yourself designing with these awesome products! You could be creating professional looking stationery in no time!
Until next time,
~Krista

Discover more from Regal Stamping
Subscribe to get the latest posts sent to your email.
Love, love, love these Krista! Spellbinders hit it out of the park with these, and you showcased them superbly!!!
Ahh, you’re so kind! Thank you!