There’s a new frame in town and Spellbinders has them! As part of the February Clubs, this Stitching Die of the Month comes with two stitchable frame dies, a stitchable tag die and two layer dies. So, let’s get framed! The sign up window starts today, February 6 and ends on the 27th.

These are super easy to stitch up, in fact, last weekend I taught my 6 year old granddaughter how to stitch the tag. She finished four (FOUR!!) in less than an hour. She’d never held a needle before and I was amazed at how easily she completed the tags! When her brother decided to give it a try, she was happy to share her expertise! I don’t think he enjoyed stitching but I’m glad he gave it try. I’m one proud grandma 🙂

These dies are great for framing just about anything you can think of, including florals, nature scenes and large stand-alone sentiments. These would also be great on scrapbook pages, smash books, paper bag albums and the like. And if desired, they can be used without any stitching!
I’ve been making these frames in the evenings while I watch t.v., but my lighting wasn’t great and my old eyes were getting tired too quickly. So, I headed to Amazon and found this craft light that sits beside my recliner, giving me perfect lighting. What a difference it has made and look at this pile of completed frames! So much fun!

To give some extra visual interest, I decided to experiment with variegated DMC threads, both ombré and multicolor options. Some of them turned out prettier than others, but I’m sure I’ll find a use for each one!
Let’s get framed…
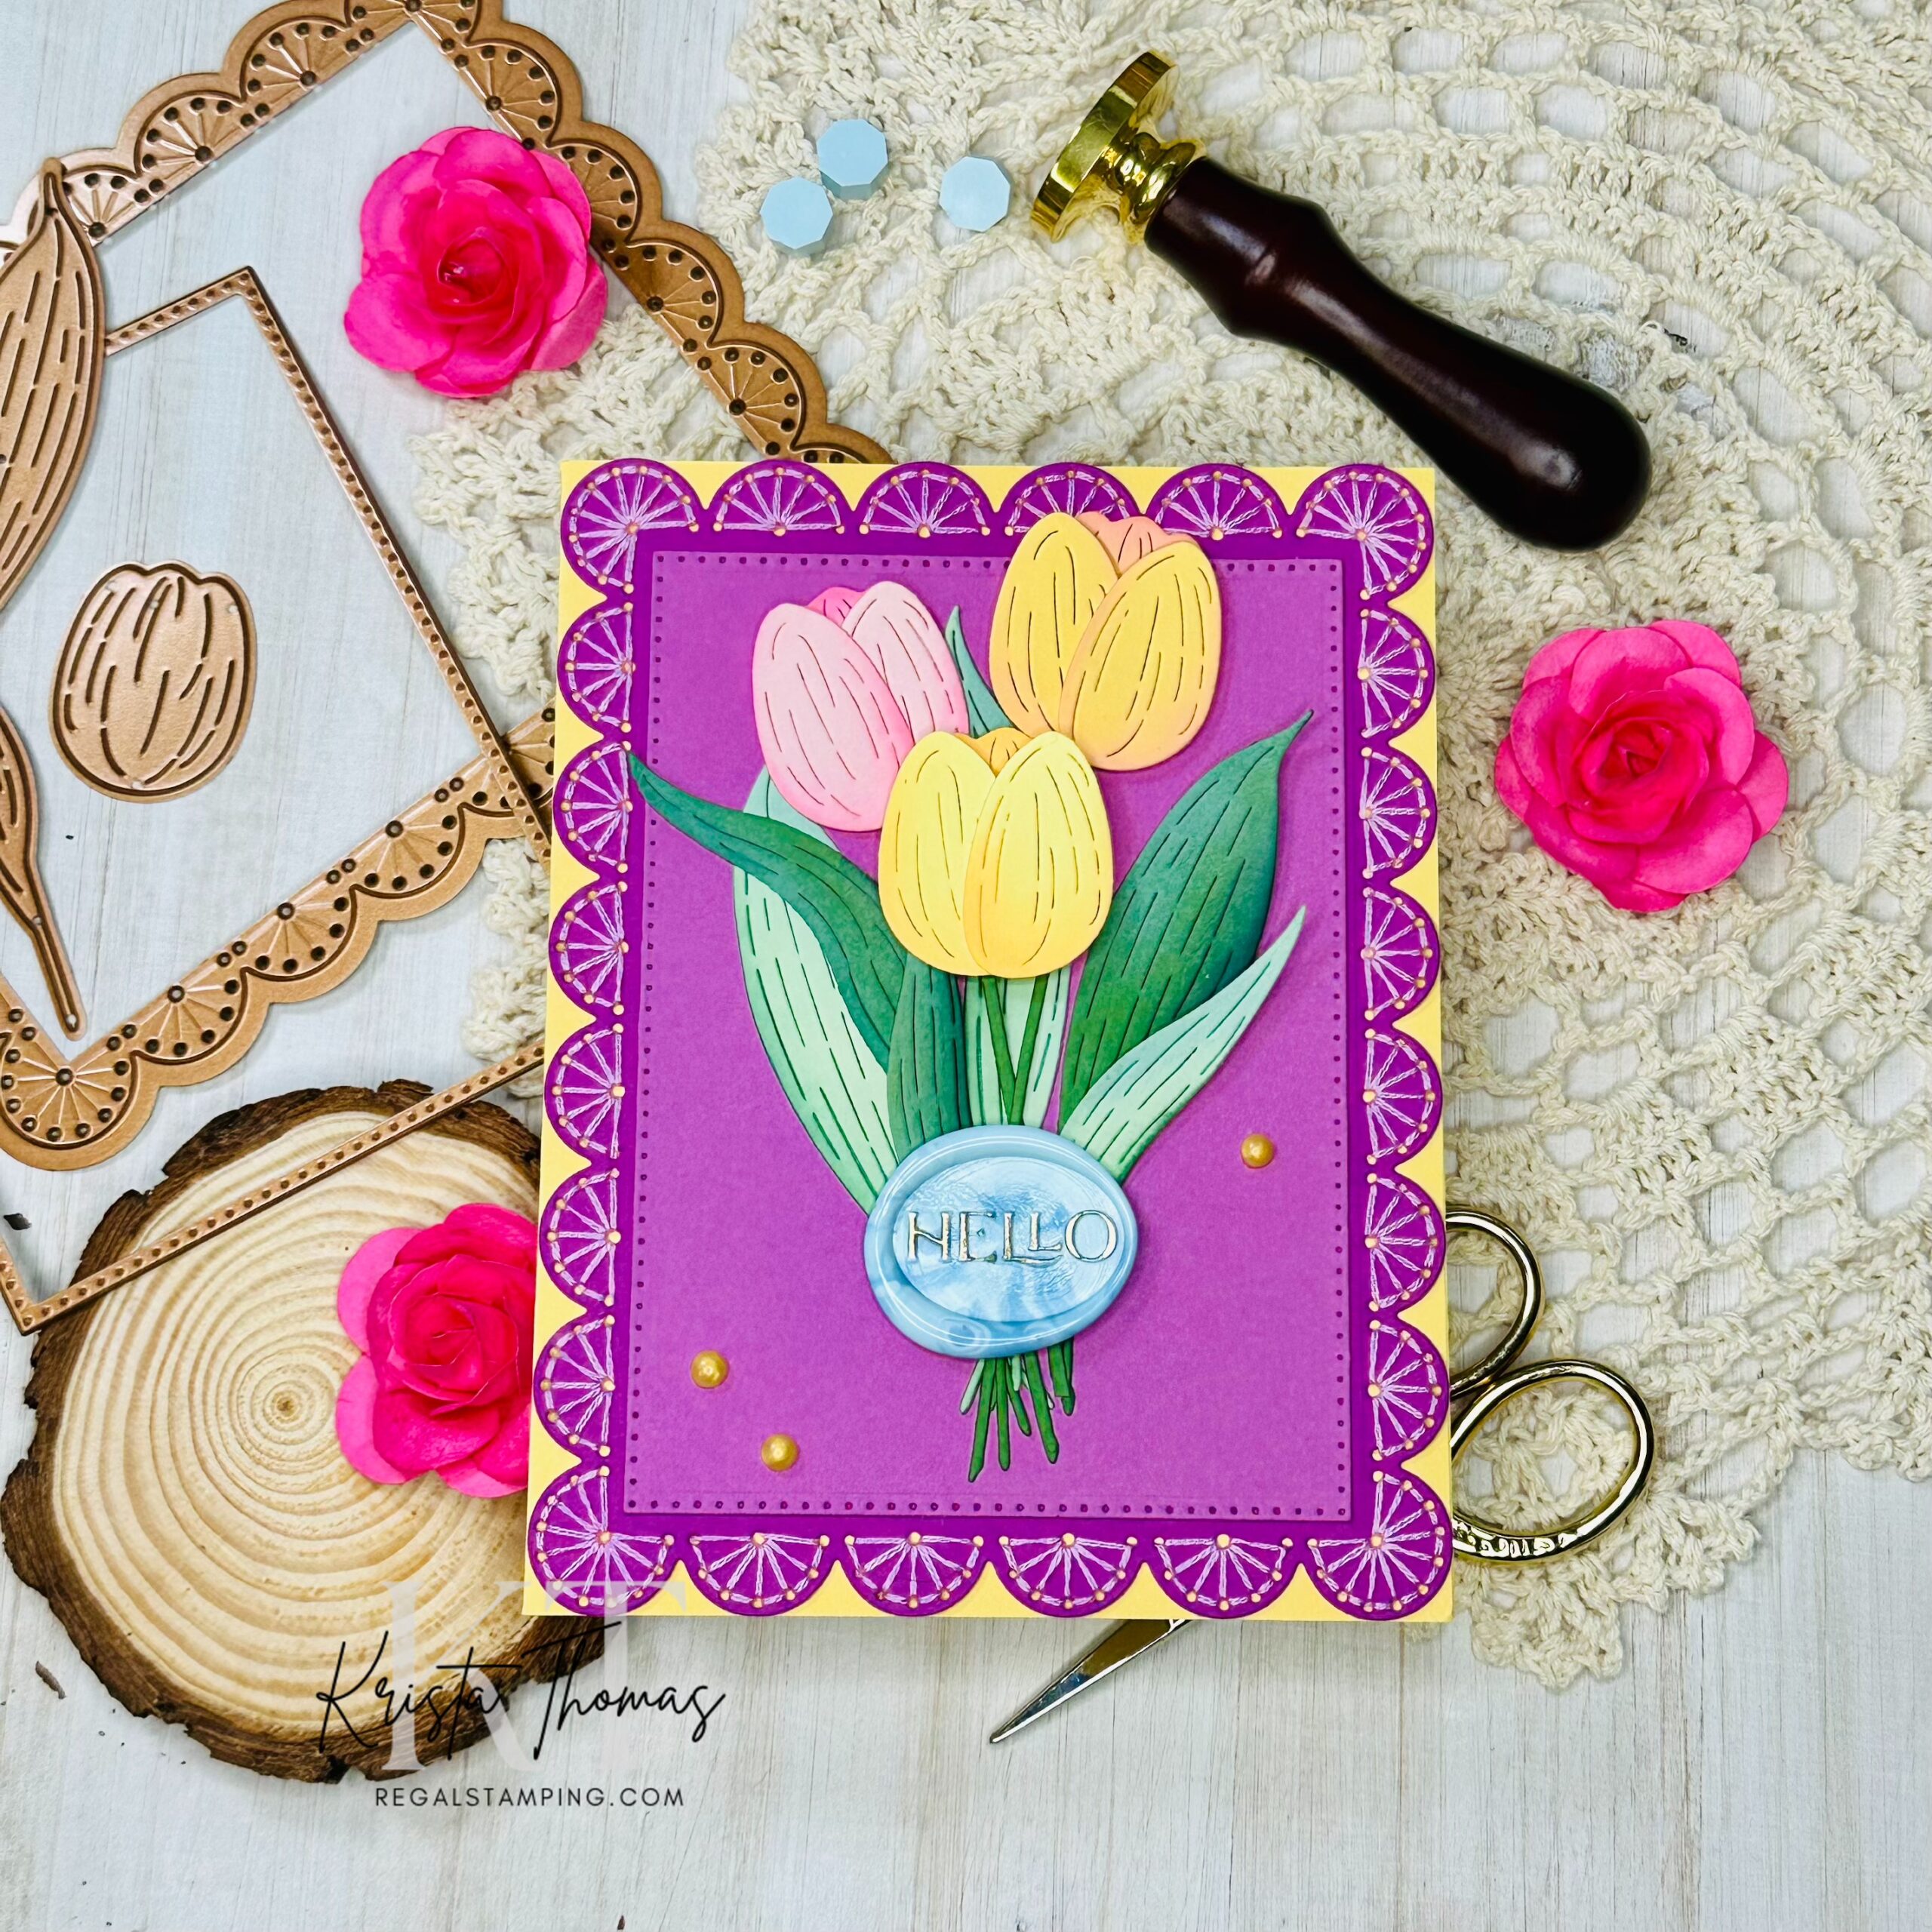
I chose spring colors for today’s card, picking yellow, pink, purple and green and then selected some tulip dies from Floral Bunny Basket. The frame and mat were cut from two shades of purple card stock and the thread is DMC #3609.
I debated between the tulips I chose and the ones Rainboot Bouquet, that I used in my previous post, here. Either set would work!

After die cutting the tulips and leaves, I used Distress Oxide inks to give them some depth, variation and shadows. Once I positioned them on the card front, I carefully glued them in place, popping up the flowers.
Finishing touches…
I made the Oval Hello Wax Seal with a couple shades of blue wax. I then highlighted “hello” with a gold foiling pen and adhered the seal over the flower stems.
Whenever I make a wax seal, I use the remaining “drippings” to make bling, such as the three yellow accents that I added to the background.

I love that Spring is quickly approaching and with that, all of the colorful flowers that will soon be popping up! Today’s project is my first Spring card of the year and I hope you’ve enjoyed it!
I can’t wait to share more projects with you in the near future. In the meantime, I hope your crafting adventures are relaxing, fun and therapeutic! Find joy in the little things 🙂
Until next time,
~Krista

Discover more from Regal Stamping
Subscribe to get the latest posts sent to your email.