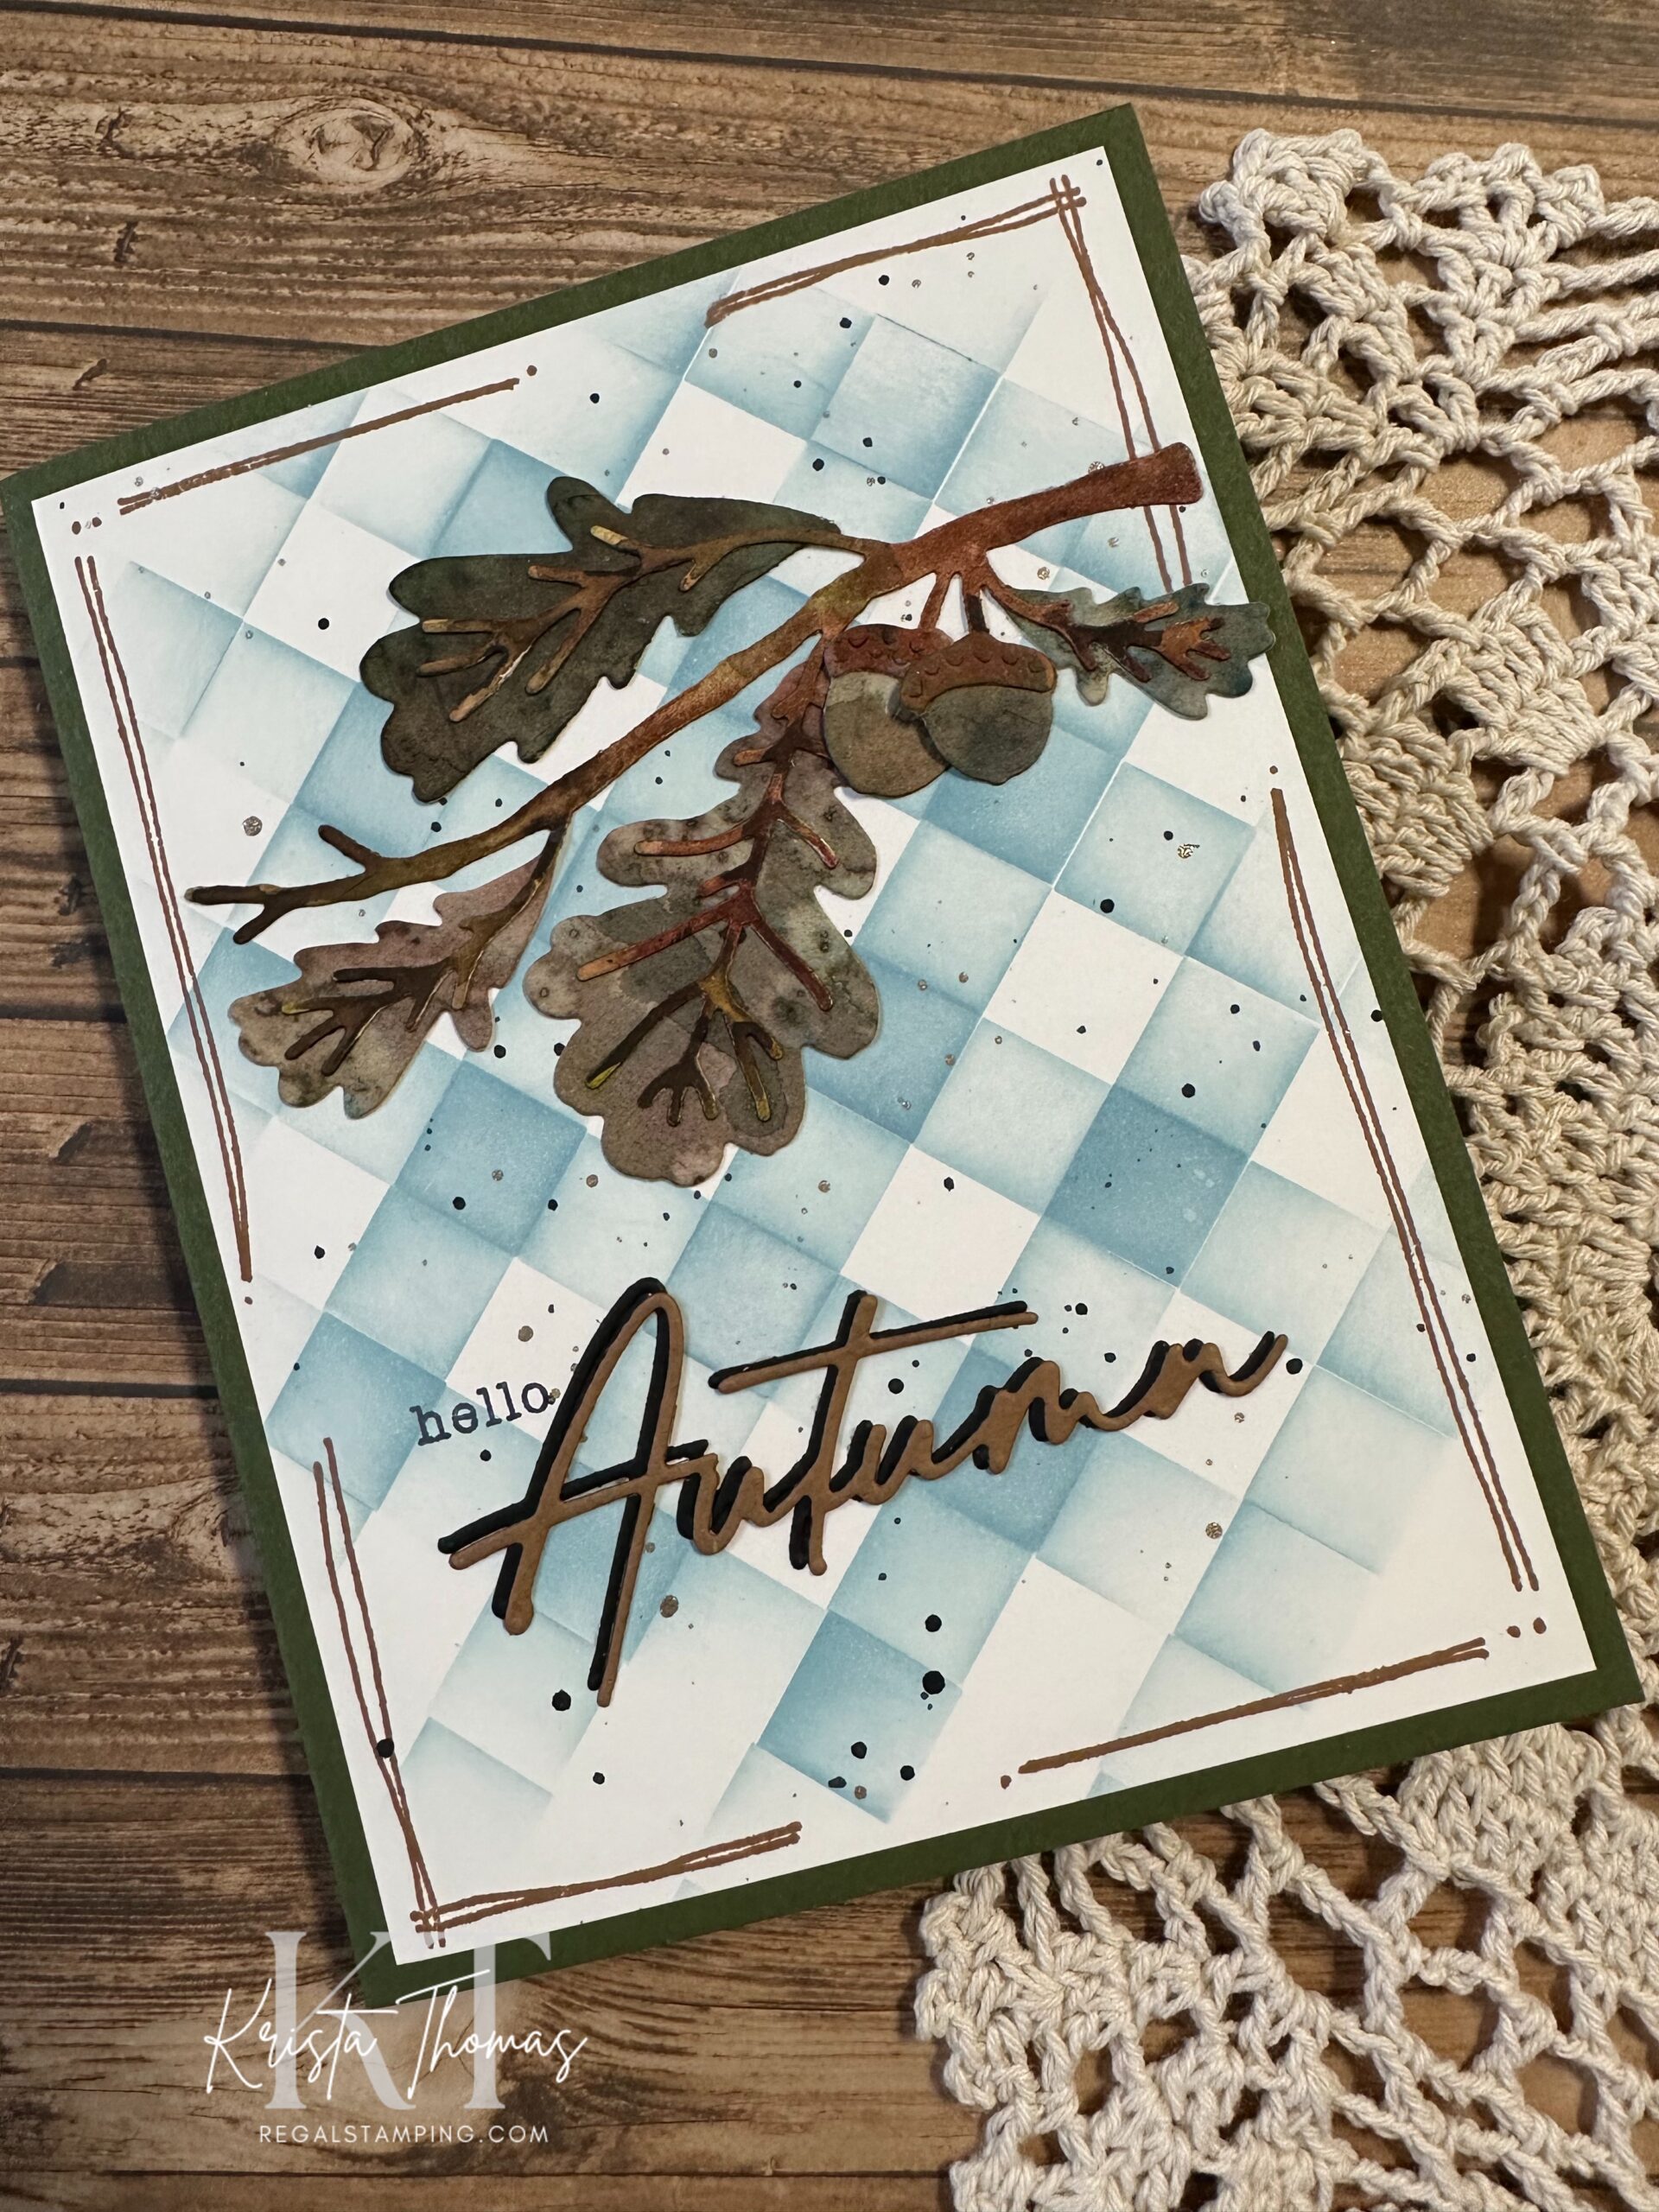
Hi Crafty Friends! Autumn is such a beautiful time of year, don’t you agree?! While I truly love summertime, I have to admit that I’m always ready for the cooler Fall weather and the vibrant colors that come with it.
With those gorgeous colors in mind, I pulled out my Brusho Watercolor Crystals with the intent of making a stunning wash of colors. It’s been quite some time since I had played with these crystals and I got carried away! I ended up with a muddy looking panel and almost tossed it. In the end, I decided to cut out some leaves, “just to see”, and I actually liked them! One of my craft room quotes is “there are no mistakes, just creative opportunities”. In other words, find a way to make it work and then own it!!

So what is Brusho?
Brusho Crystals are very saturated watercolor pigment powders. They come in many colors and are so fun to play with! To get started, you’ll need some watercolor paper. My favorite is Strathmore 90 lb. Cold Press, which is a good weight without being too thick and stiff. It’s texture is somewhat rough, but can still be stamped on, if desired. It’s a perfect combination for card making!
I used a small spray bottle of water to dampen the paper and then lightly sprinkled some Brusho over the panel. The crystals begin to spread in the water, creating interesting patterns. Add more water to further move the crystals. Adding multiple colors will increase the visual interest, but that’s where I went over board and ended up with mud! Still, in the end, it’s all good! 🙂

Add a simple technique…
It is normal for watercolor paper to curl when it’s wet, so you just have to work with it and it will flatten out as it dries. To add some further visual interest, try sprinkling a bit of salt over the wet surface. The salt will lighten the pigment around it. Table salt will work, but the result will be very subtle. I prefer rock salt which makes a bigger statement! Once the panel is dry, brush off the salt.

Once my watercolored panel was dry, I cut out some leaves and a branch with The Greetery, BotaniCuts Mighty Oak Dies. These dies come all wired together and I leave them that way, laying the whole set onto my paper. After running it through my Big Shot, it was time to piece it all together. When I’m handling small, delicate pieces, I always rely on my tweezers to hold onto things!
Creating a background
Onto a cream colored panel, I made a checkerboard pattern with The Greetery’s Square Dance Stencils using Distress Oxide pads in Speckled Egg and Stormy Sky.
Because I tapered off the stenciling towards the edges, it left enough room to add a stamped border with Whimsy Stamps, FaDoodles in Altenew Espress ink.
I splattered the finished panel with black and metallic gold acrylic paint and allowed it to dry before adding the oak branch.
Finally, I used The Greetery’s Let’s Have a Word: Autumn die, cutting it from Stampin’ Up’s Pecan Pie and Basic Black card stock. The black is offset behind the brown to create a shadow effect. The “hello” sentiment is from The Greetery’s Curio: Label stamps.
The finished panel was adhered to a card base in Mossy Meadow, a Stampin’ Up color.

I’ll be playing with my Brusho crystals again soon, so stay tuned for more watercolored creations in the near future!
If you’re looking for more Autumn inspired designs, you can check out my previous post.
This post contains affiliate links. If you click on a link and a purchase is made, I will receive a small commission at no extra cost to you.
Until next time,
~Krista
Follow me:Discover more from Regal Stamping
Subscribe to get the latest posts sent to your email.
